How to setup Meta Ads for Spotify track advertising using Meta Pixels and Musicstax Links
Creator of Musicstax.com
Meta conversion advertisements are one of the best way to find new fans and grow on Spotify - with the primary objective usually being to trigger the Spotify algorithm to help your streams coming through even after you've ended your Meta ad campaign.
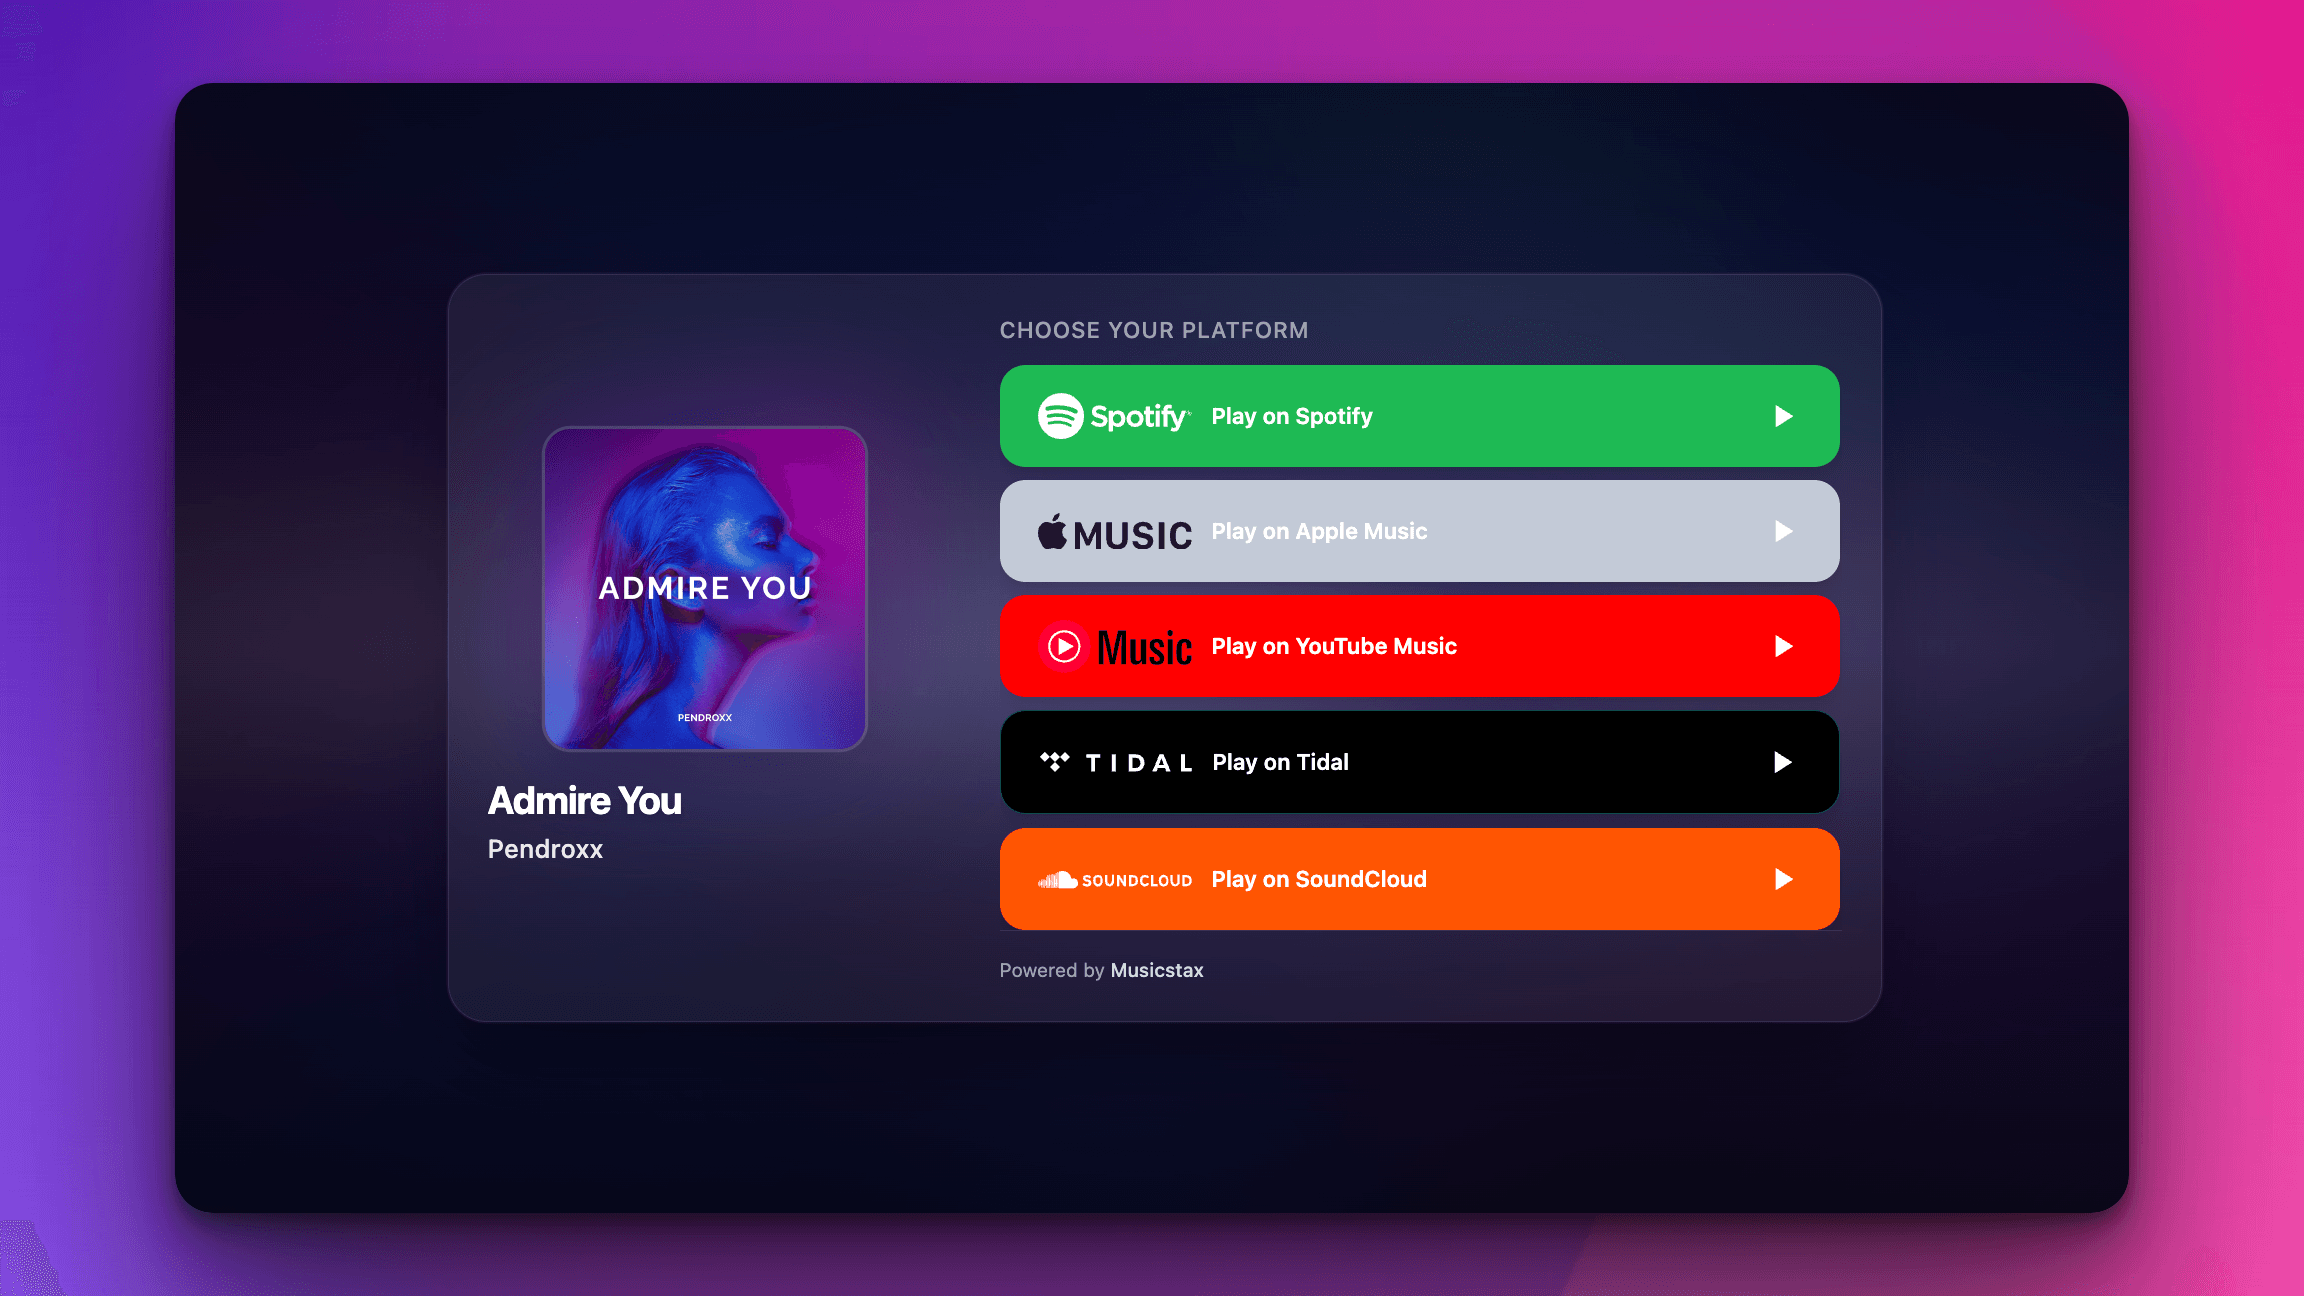
What are Smart Links and why do we use them?
A common question for those new to Spotify marketing is why do you need the smart link and not just push people straight to Spotify? The reason lies on the Meta side of things. By having a smart link landing page, you have the ability to train Meta by using a "Meta Pixel". This pixel tracks when people click on your ad and then through to a music platform, allowing Meta to learn people who are likely to interact and convert with your ad, and keep adjusting it's learnings on this data. These smart link pages also filter out bots rolling around on Facebook and Instagram too, as the "click" event on one of the music platforms on your smart link landing page is the conversion event, not the click on the ad.
How to create your Meta Pixel
If you don't already have a Meta Pixel setup, head to eventsmanager.facebook.com. You will be presented with the below screen if you have never set anything up before.

Click on the "Connect data" button.

Click on "Web", and then "Next".

Name your pixel something useful. A good idea would be your artist name, so you can easily distinguish between pixels if you are to end up having multiple pixels in your Meta business account in the future. Once you have entered in a name, hit Create.

If everything went well - you should be on a page similar to this with your new pixel under the "Datasets" section. The ID below the name of your pixel is the important part, as this is what you will need to provide Musicstax Links with.
Next, click into your pixel and then hit the tab "Test Events". Under "Select a marketing channel to receive its corresponding instructions", click "Website".

Next, we want to go to Musicstax Links to setup our pixel and send through a test event.
Go to your Musicstax Links dashboard.

Click on Manage Pixels.
Copy the ID from Facebook Events Manager into the Pixel ID on Musicstax Links. In my case it's 2689350758110083 - enter in yours.


Press "test connection" and we'll fire off an event to your pixel. Back in Meta Event Manager, you will see an event come through, as you can see below.

If this event has come through - press "Add Pixel" on Musicstax Links.
You may find that you need to approve this pixel. Over the course of now to 15 minutes, if you go back to the home page of Events Manager, you will see a popup off to the right saying to "Confirm custom event(s) that belong to you". You need to review, and confirm this before it can be used in your Meta Events Manager.


Press Confirm on the final screen.
Setting up Custom Conversion Event
Now that we have setup our Pixel and it's received a MusicstaxTrackLinkClick - we want to set up a custom conversion event for this event. What this is, is setting up something which Meta can use to properly refine your advertisement on.
It can take anywhere from 5-30 minutes for Meta to properly process this event after you have pressed "Test Connection" in Musicstax so you be able to create a custom conversion on it. So if you don't see the below steps right away - don't panic! Just give it some time, and try again.

Head to the "Custom Conversions" tab and click "Create custom conversion".

When it comes to creating the conversion - it depends on what you are after. We provide multiple parameters you could set your conversion event up for. Eg: to only count conversions for "music_service = spotify", or you can create new conversion events for each song by using "content_name" or "title". You can also broadly catch all songs by setting "content_category = music".
Parameters: (7)
    content_type:
        product
    content_name:
        Pendroxx - Admire You
    content_category:
        Music
    artist_name:
        Pendroxx
    call_to_action:
        PLAY
    music_service:
        spotify
    title:
        Admire You
Once you. have saved this, congrats - your Facebook pixel is now setup! You can use this in your Musicstax Links campaigns.